Robots! Yes I said ROBOTS!

Who doesn't like robots?
This post is really a prelude to my current, much larger project of which a teaser is at the bottom.
Growing up in the late 70's and 80's, robots were a common topic. New broadcasts spoke of them in industrial settings, schools mentioned them in science and technology classes and of course they were in movies and television! I was already a 'maker' with electronics by age 10 and was fascinated by the idea of someday making robots. Alas, information was scarce and supplies typically exceeded my childhood budget.
Eventually though, I was able to find some projects I could afford (and understand) which just rekindled my interest and got my brain churning with exciting ideas.
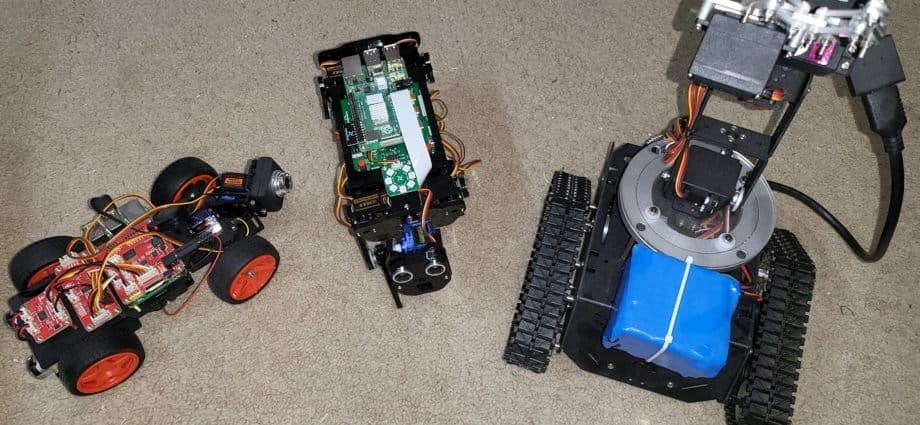
Robot car - of sorts
My first venture came from searching for another favorite past time, Raspberry Pi. I stumbled across this SunFounder Robot Car. Not your typical robot but technically falls into the category. It was a great into into understanding some of the capabilities of the Raspberry Pi in controlling servos and motors. Not to mention it was fun to get the dogs going crazy chasing and barking after it.
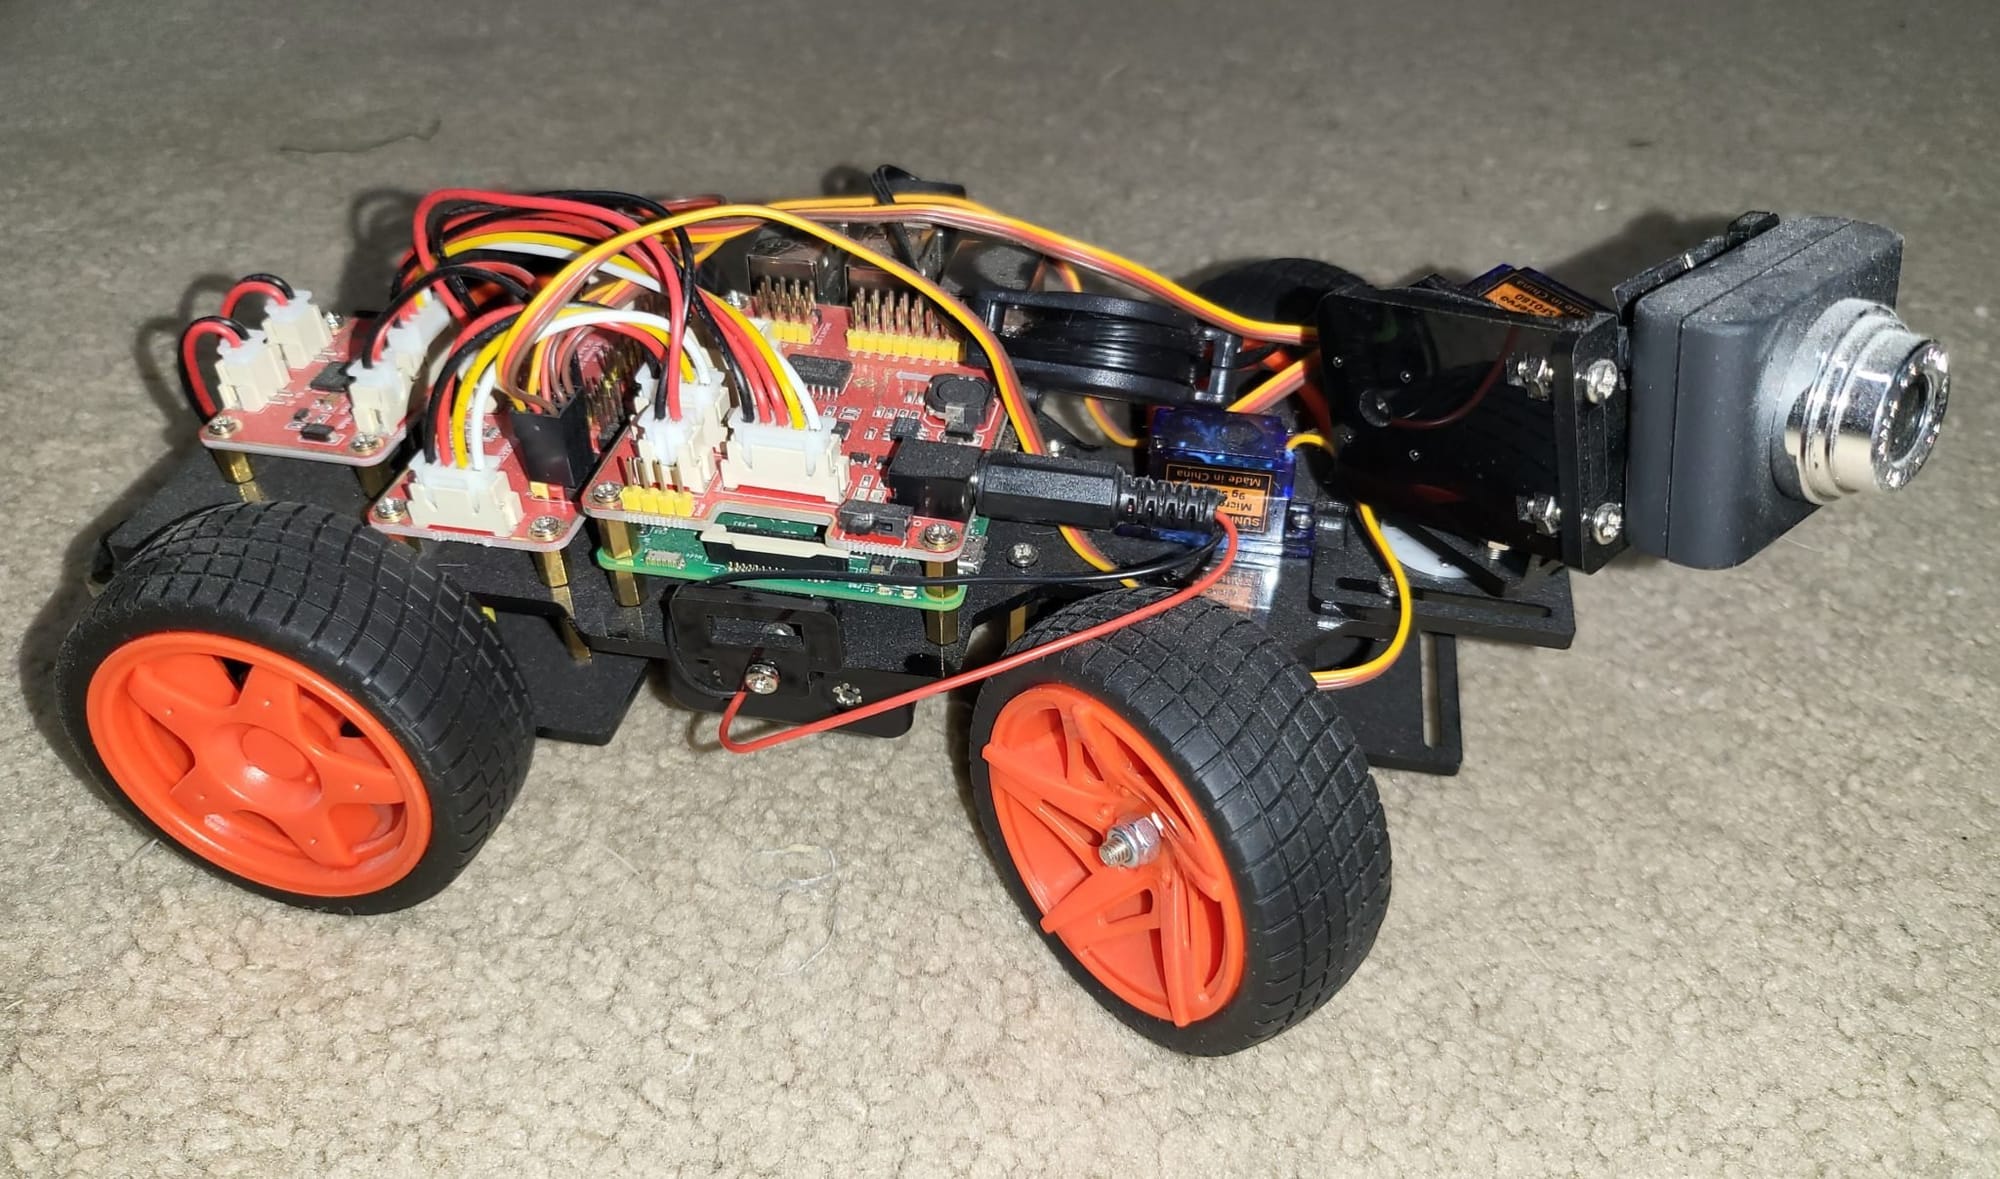
I was able to drive it, take pictures and record video, and make it follow a ball. Again, neat but this did not quite satisfy my robotics desires.
Robot Dog (swear it looks more like a cat)
My next project was a bit more exciting. Freenove puts out many robotic kits, such as this Robot Dog. I have since learned that many similar projects are available Open-Source via 3D printing and other PCB parts but Freenove does a good job of compacting some parts and making easy-to-follow instructions.
This kit was a lot more small parts and servos to handle the DOF that were needed for stability. I had an issue with their main circuit board which, after some troubleshooting found it to be shorted and Freenove sent a replacement (yay!).
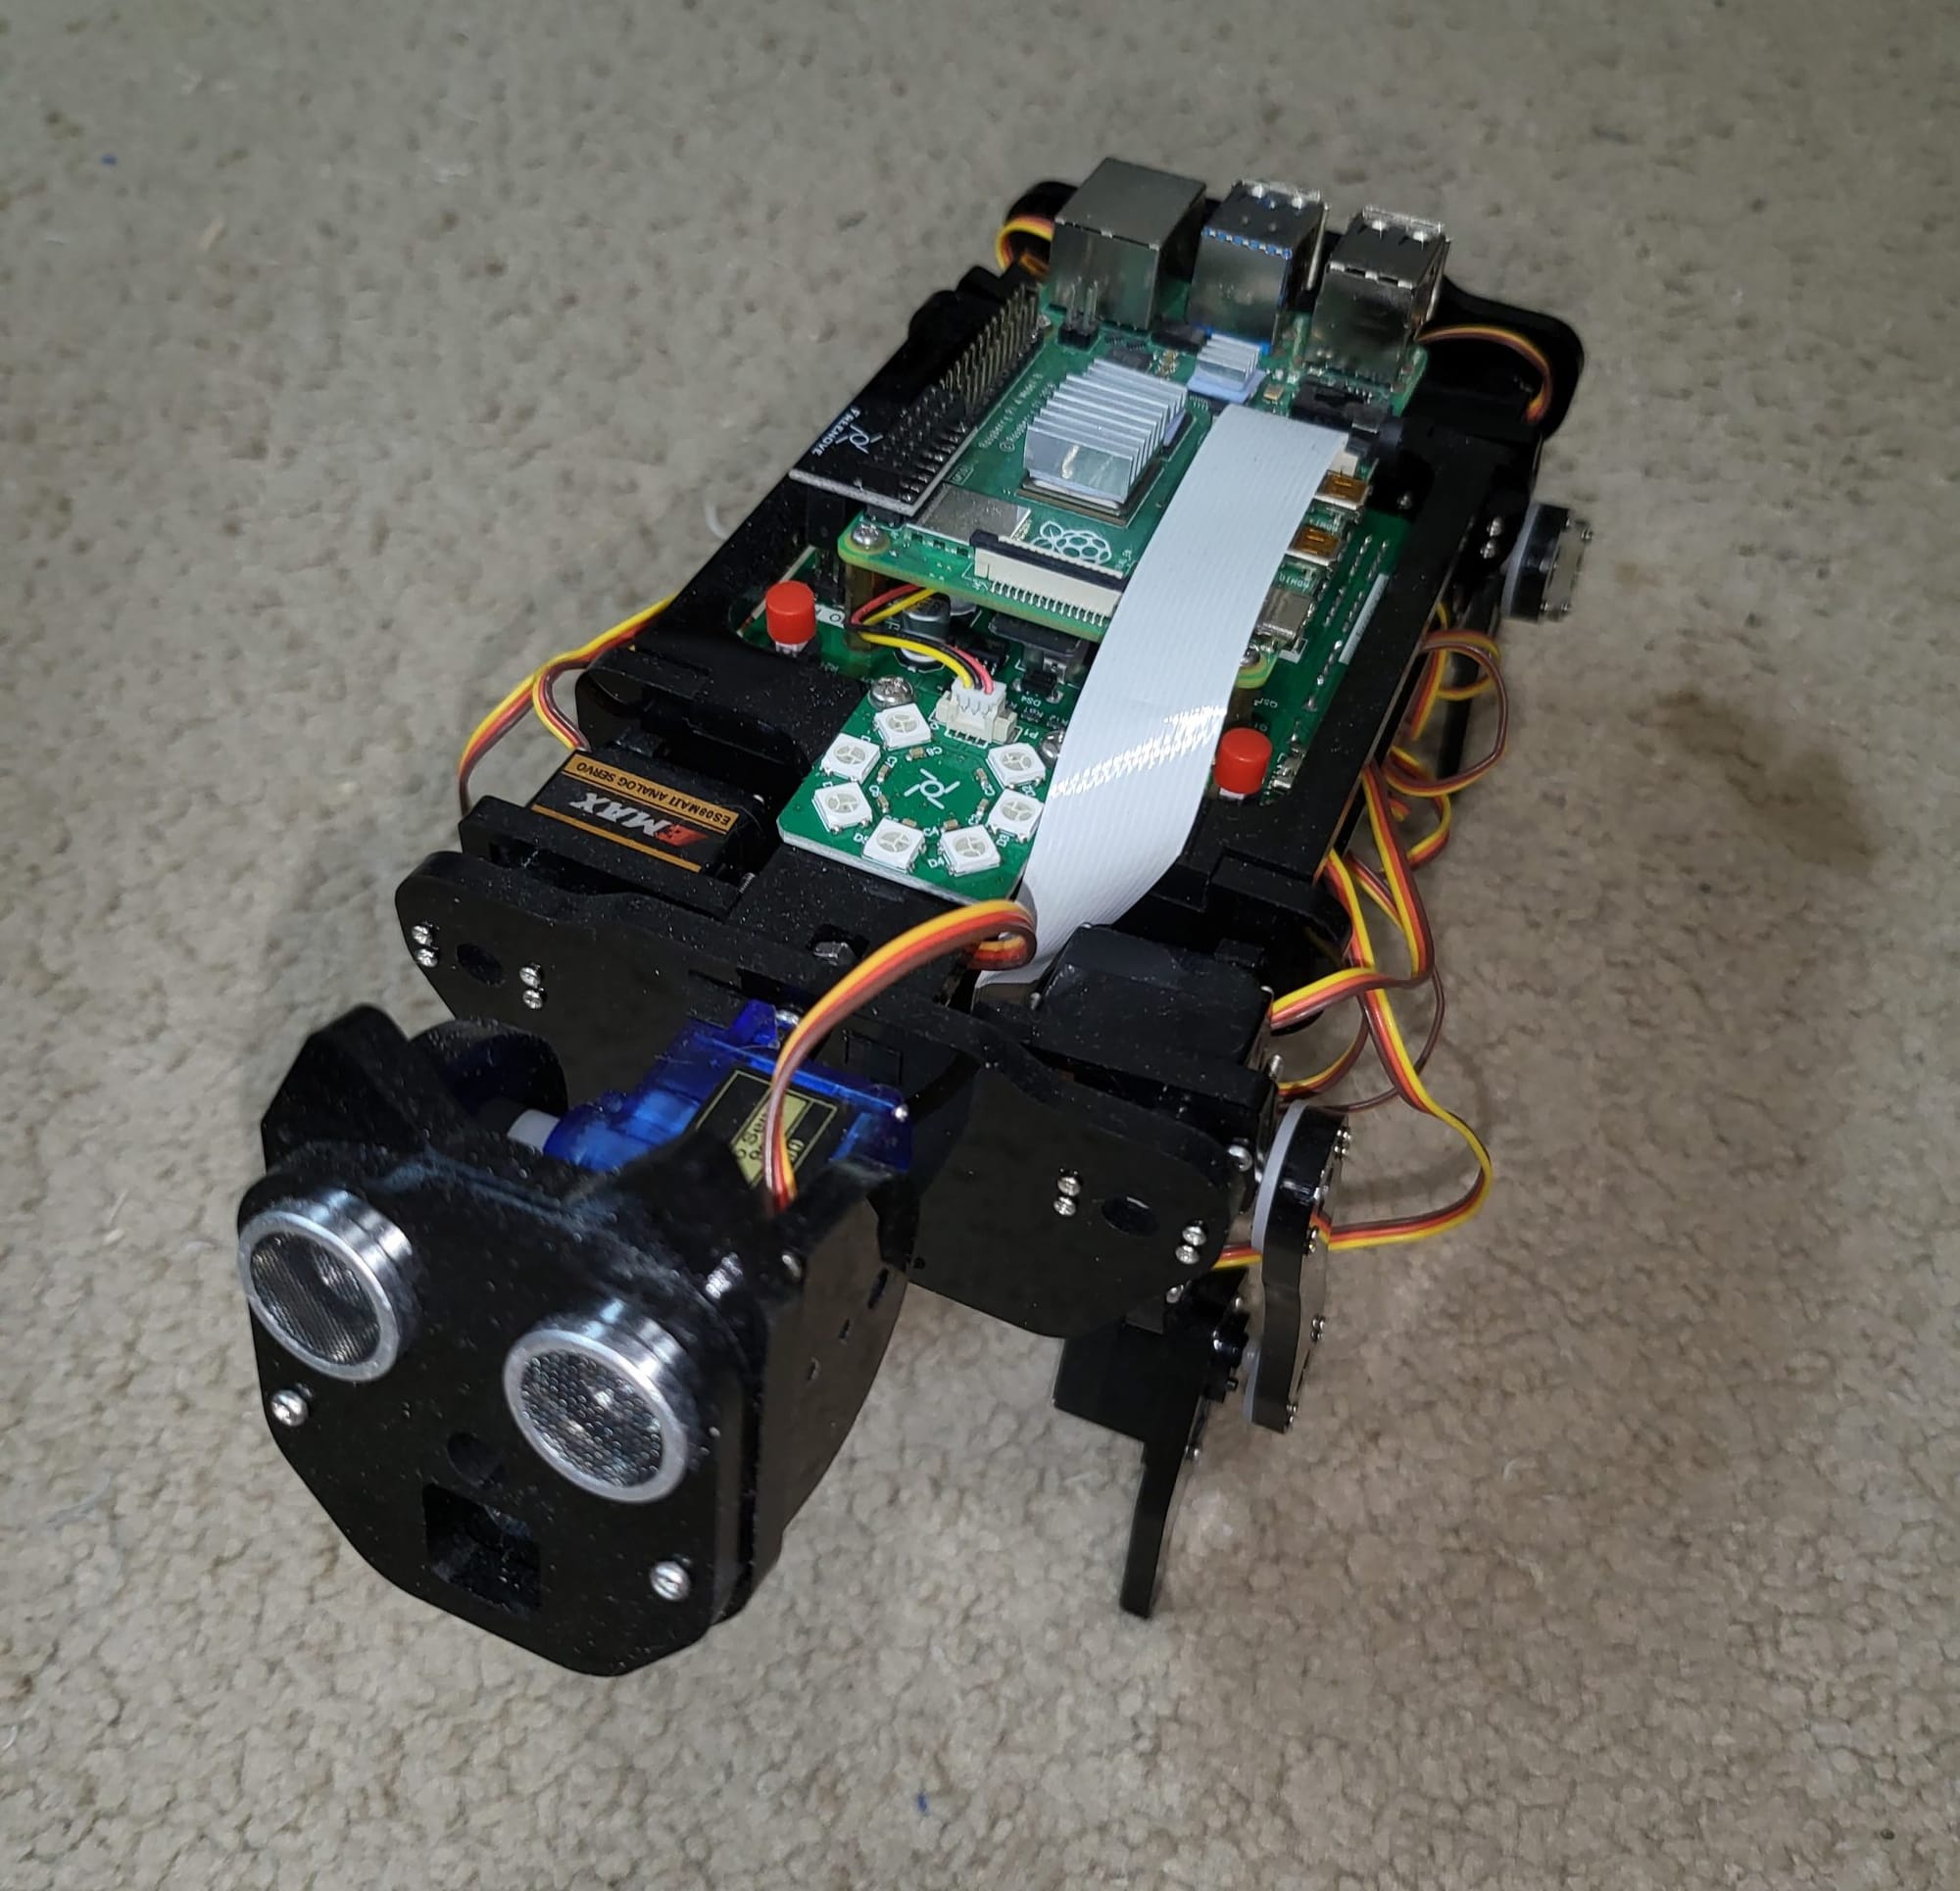
The Robot Dog, that more so resembles a house cat to me, was definitely more of the classic robot than the car. Making all the servos line up and move together to get the different pose positions and walking was a lot of fun and work but I was very pleased in how it all worked out. Until I put in on the carpet. This robot suddenly became a 5 pound paperweight.
Technically I got what I paid for and enjoyed the building/learning experience but what a let down. Our home is 90% carpeted so a robot that cannot handle carpet is more of a trinket that collects dust... On to the next build.
Tanks are powerful
The previous kits were cool but there is not a lot of function in either of those. I mean outside of tormenting the dogs for about 15 minutes. I wanted a robot that could interact with the world around it.
My next build would be my first 'idea' and not just a kit - although I have since seen it sold as one. Learning my lesson from the non-carpet handling dog, I moved on to tank tracks as they are known for handling multiple types of terrain. DFRobot makes this medium sized tank frame called the Devastator. It made for a rather nice platform to build upon. This one came with some fairly strong motors to drive the tracks. It ended up being a bit noisier than I had planned but nothing could stop it so it was a decent trade-off.
Remember I said I wanted to be able to interact with the world. What better than a clawed arm to do that? I searched and compared for a while and eventually settled on the SainSmart S5. This all-metal arm has 5 axis or DoF.
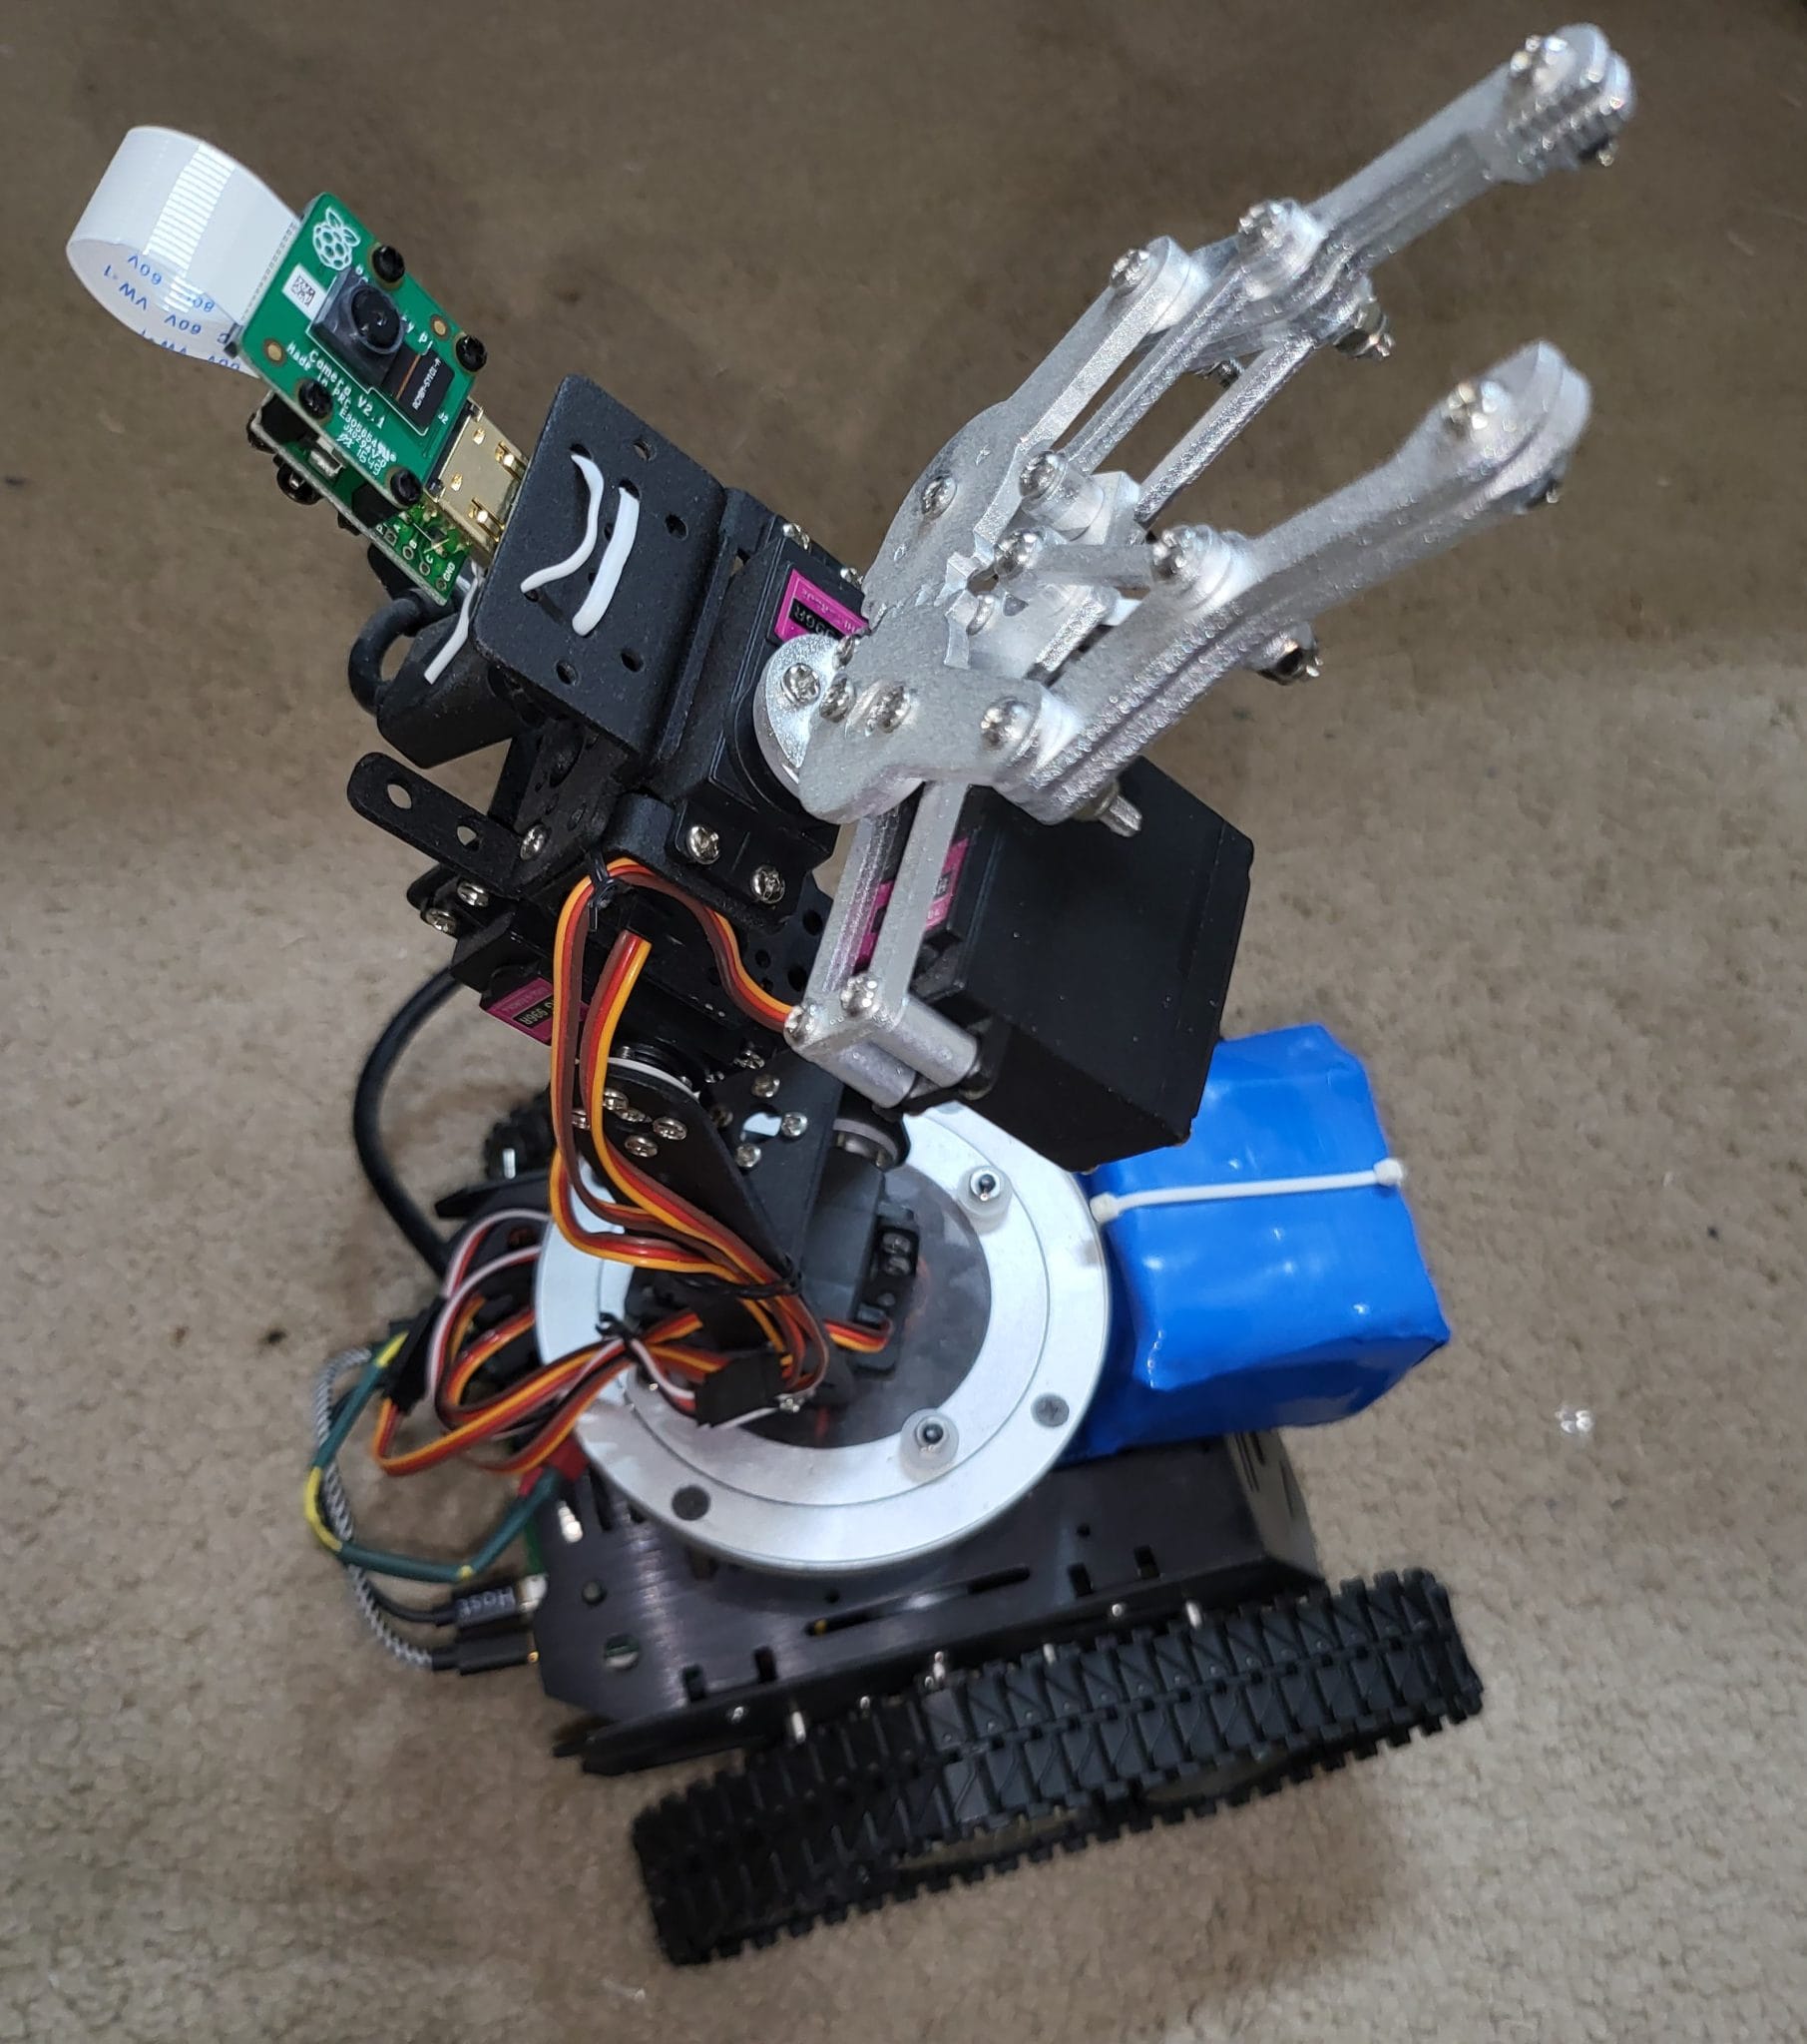
Not being a kit, this monster required me to research how to control motors and servos with a Raspberry Pi and adapt some existing software to control movement of the tank and arm simultaneously. Not a work of art by any means but was exciting to make it work and control to interact with things. I mean, have it drive across the room and get the remote and bring it back. Took 4 times as long but was way more fun. :)
Since this was not a kit I had to figure out how to power it. Running the tank motors alone would drain a standard RC battery within 15 minutes. After some research and trial and error, I learned how to make battery packs that could be recharged and equalize as well (big blue thing on the tank).
This project took the longest and was the most rewarding. I had to pool knowledge from electronics, programming, electrical, and physics to make it all work. This is when you think back to all the things you were being taught and wondered if you would ever need or use it.
Current project (as of August 2022)
If you have never heard of InMoov and you like robots, you should check it out. I am not going to go into depth on this post but see the video below. This was a starter project to gain some understanding of the larger build.
This is called the Finger Starter and it helps you understand the concepts and mechanism that you will use if you continue with the full build. You will need to dial in your 3D printer, work with servos, assorted hardware, and then program an Arduino to control it all.
Almost as soon as I made the finger I went full bore into the complete project. I currently have about 30% printed and assembled and cannot express the satisfaction of seeing it all come together. More to come on InMoov in future posts!