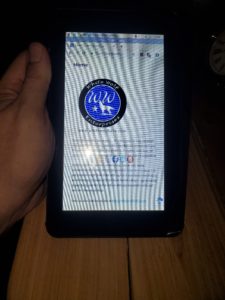
7″ Touchscreen
On somewhat of a whim, we visited a Micro Center for the first time about a week ago. I was pleasantly surprised by the amount of Raspberry Pi accessories that they stock and at competitive prices too. My wife saw me eyeballing the Raspberry PI Official 7″ Touchscreen Displays and bought me two – yes I am spoiled.
So of course within an hour I had one connected to a spare Pi 3 B+ and viola, I had a touch screen Pi tablet (technically speaking). This spawned searches for ways to complete the project. I would certainly need a case and a battery. What fun is tablet if you have to stay within 5 feet of an outlet?
Case
First problem – There are not too many ‘pre-made’ options for tablet cases on the market and my 3D printing has not had huge successes. That is an entirely different story for another time. Instead I decided to try this case from CanaKit. Case, done – check.
Battery
Making it truly portable via battery power was the next challenge. I have made portable Pi’s before using fairly large power banks or making my own 18650 setups but I wanted something a little fancier and concealable for this. I came across the PiJuice Hat. This looked very promising as portable and rechargeable power source for my tablet. I was a little off-put by the price but if it works, then I suppose its worth it. Among it’s features are a RTC, upgradable batteries, and programmable buttons.
I was super excited when everything arrived. Within minutes I was assembling and encountered a problem. The PiJuice Hat was just a little too big/tall on one corner and the case would not slide into place. I decided that snipping a little piece of plastic off of the interior housing wouldn’t be too bad. Yea, now it all fits together!
Problem 2… Of the aforementioned switches, the important one to me was SW1 which allows you to actually power on & off the Pi. One small catch, you have to apply the power to the PiJuice Hat and not the Pi itself. This means the case needs more trimming or rather, a new hole cut into it. Still not the worst of problems to have but starting to wear on my excitement level. Battery, done – check.
Landscape or Portrait
Onto the next problem(s)… The CanaKit case is designed to make the table into a landscape tabletop display. This is cool but the display is upside-down. This was relatively simple to correct but going into /boot/config.txt and adding a single line at the bottom:
nano /boot/config.txt

#add lcd_rotate=2 to the bottom of the file then save/exit
lcd_rotate=2
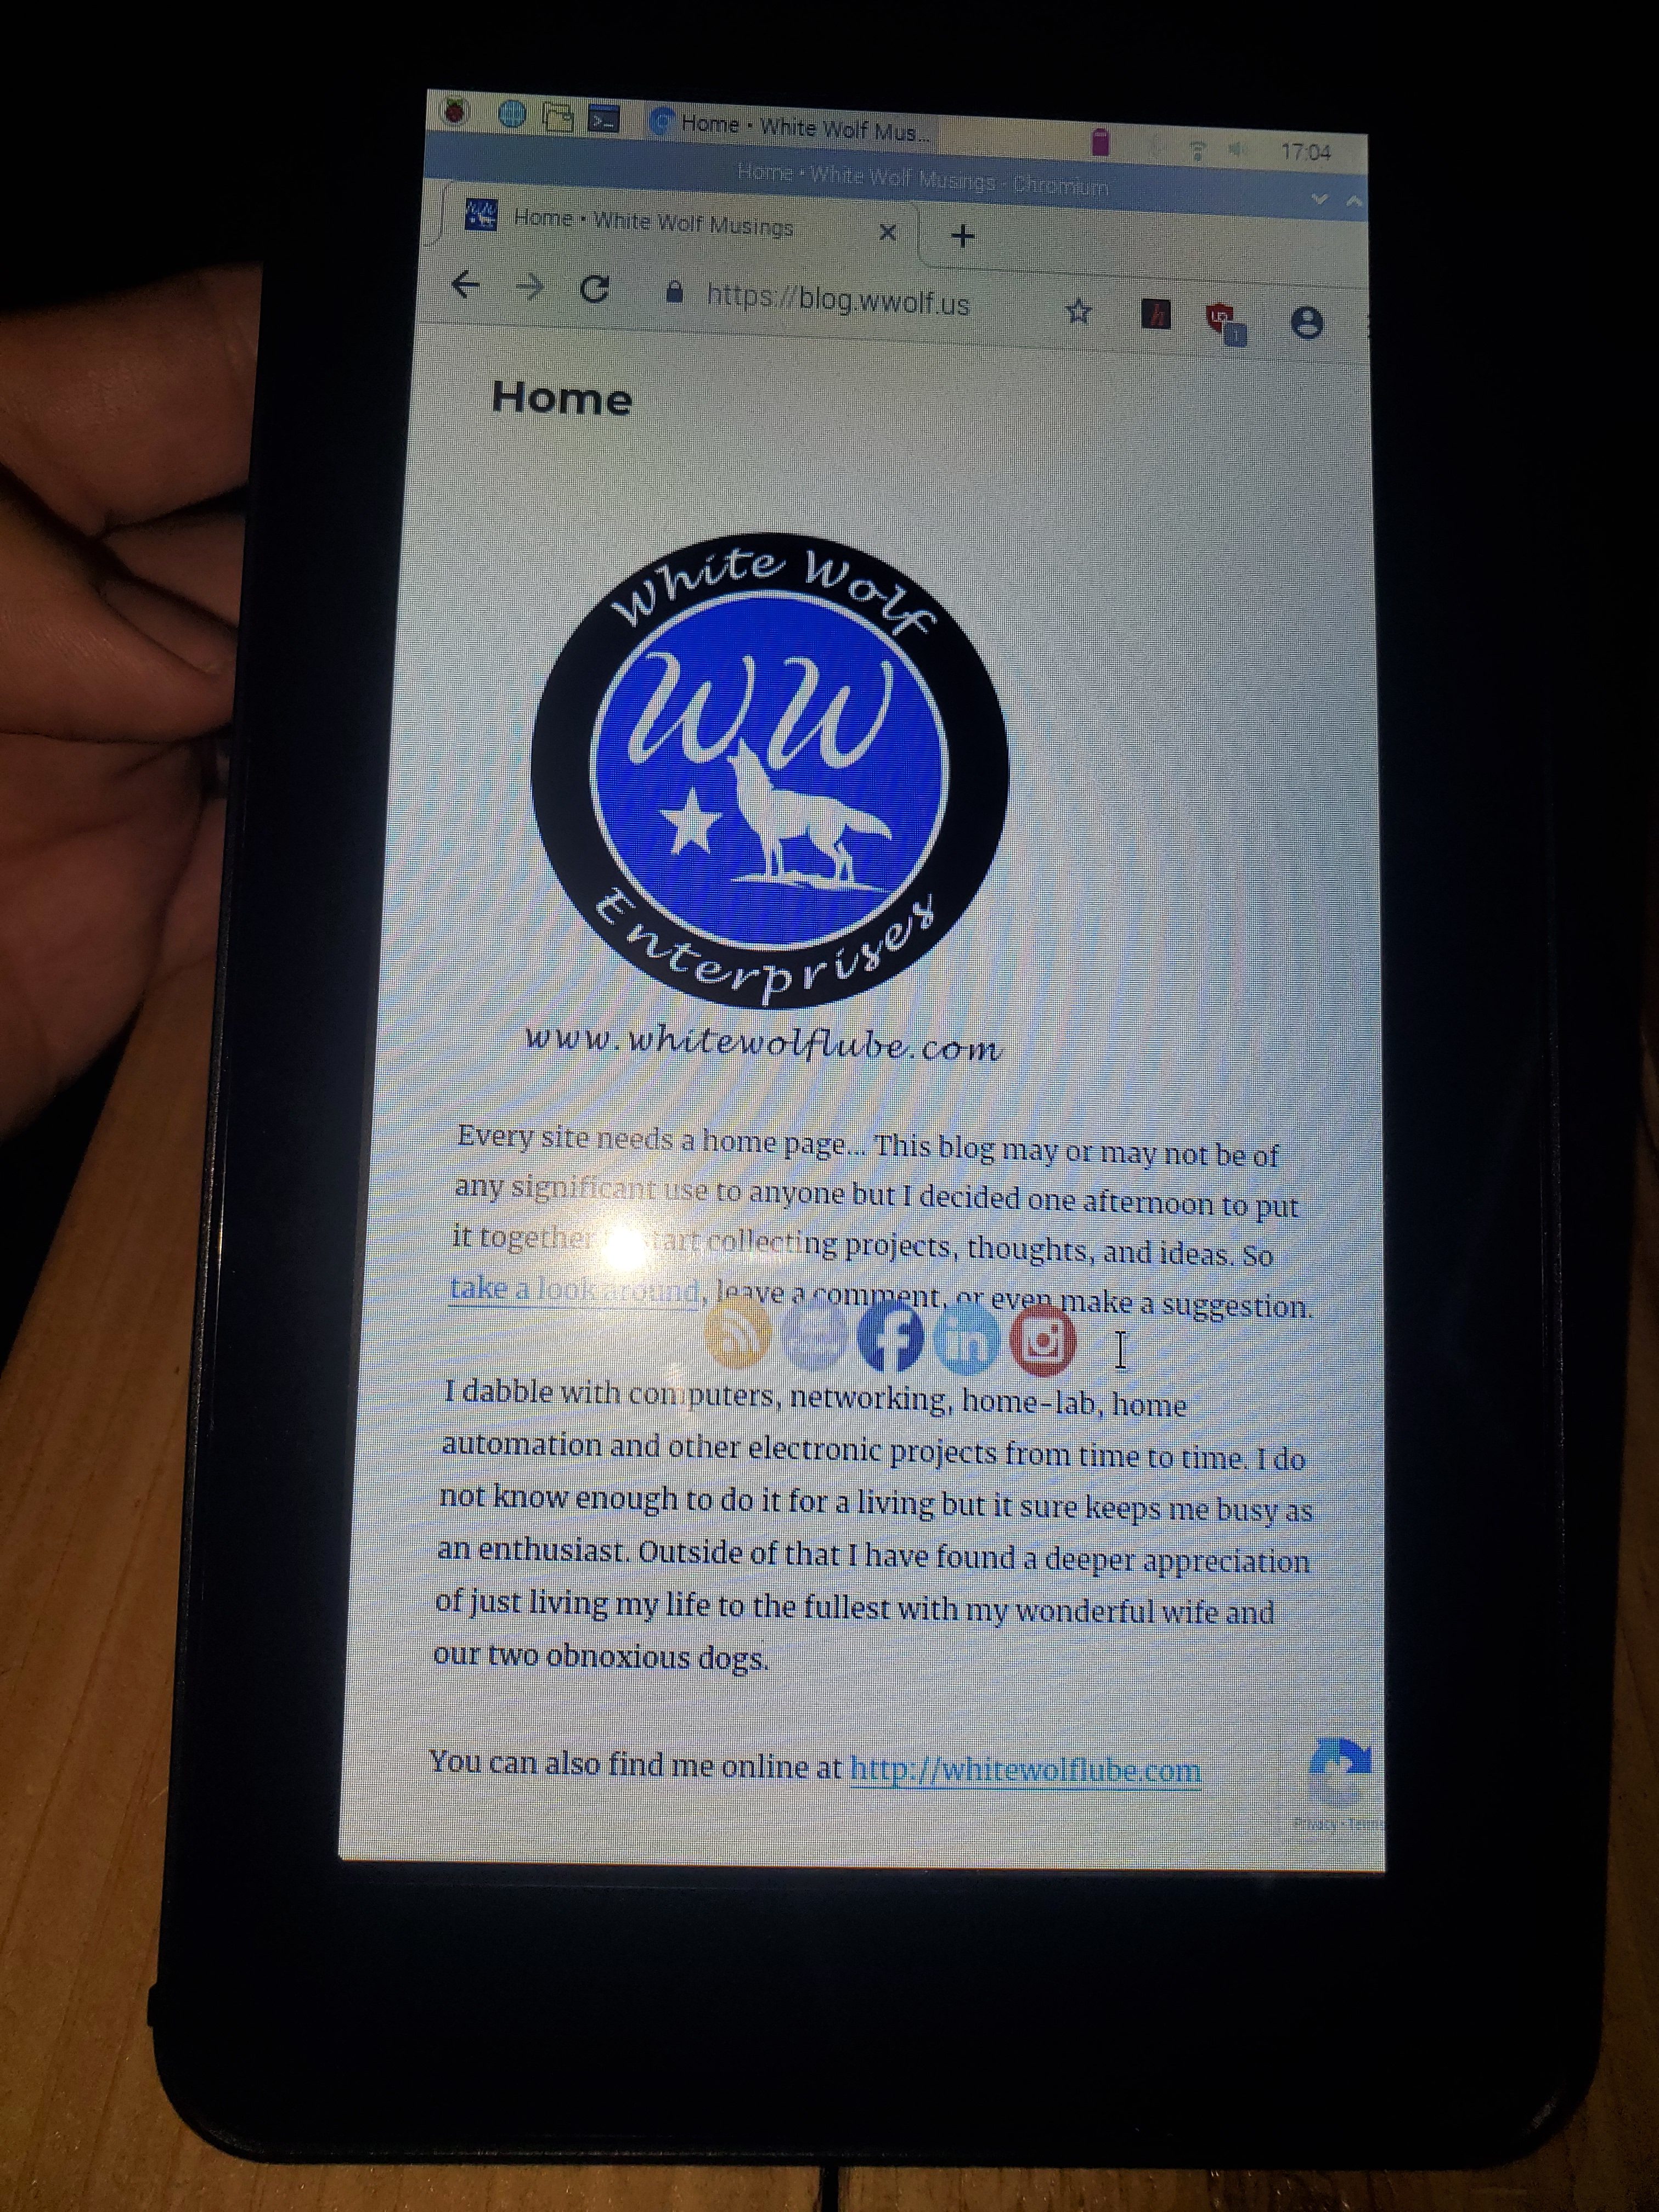
That is all well and good but what if you want to view it in portrait mode, like a ‘normal’ tablet? I spent 2 or 3 hours Googling and trying different methods I came across. Unfortunately, many of these methods were for older versions of Raspbian and no longer worked as expected – and not for a lack of me trying. I eventually came across this link that worked so I thought I would pass the knowledge along. Portrait mode, done – check.
nano /boot/config.txt

#add display_rotate=1 to the bottom of the file then save/exit
display_rotate=1

nano .xsessionrc
#add below line to the file then save/exit
xinput --set-prop 'FT5406 memory based driver' 'Coordinate Transformation Matrix' 0 1 0 -1 0 1 0 0 1
From here you can play around with font sizes and resolutions a little to configure the display to your liking. YMMV but this worked for me! Check out my other Raspberry Pi posts.

