DIN mounting for the Pi

This is not necessarily an exciting write-up. My main purpose is to show how easy this is and offer it as an alternative to typical cases and power supplies. Earlier in A cluster of Pi's, I referenced DIN mounting for the Pi. DIN rails along with the POE hat would reduce the space required, cord clutter, and possibly increase cooling. It has begun...
DIN rails - Backing up
DIN rails have many applications and are commonly found in telecom and industrial environments. Other than my current use, I have used DIN rails in a fulfillment warehouse where we used DIN rails to mount all the various power supplies, breakers, switches and PLC controllers for the conveyor systems.
In a previous post here, I describe my server rack. As much as I would like to house everything inside this rack, it is quickly becoming full and I have more plans down the road for servers and UPS systems. Whereas this could be a great excuse to purchase a second rack, there is simply not enough room. This makes the use of DIN rails even more practical for me as I can easily allocate some wall space for mounting and just route the necessary Ethernet cables to the Pi's.
DIN mounting parts list:
- Pi 4 (4GB) - I am currently only acquiring Pi 4 4GB models but any that accept a POE Hat should work for this. I have some Pi 3's and an O-droid that may migrate to this system later.
- POE Hat - My first purchase of the Official POE Hat and already very impressed. I have used one from Pi Supply that worked for a little while then suddenly stopped but I have not attempted to troubleshoot.
- SD Card - These are my current favorites but any 8GB+ should suffice.
- DIN rail - I ordered a small section for now and can easily expand later.
- DIN rail mounts - Until I figure out my 3D printer (or replace it) these seemed like the best solution to get going quickly. Also, I like these as the mount the Pi perpendicular to the rail as opposed to parallel. This consumes much less of the rail and opens more space for Pi's!
- POE capable switch - I already had a switch capable but any should work for this. Be sure to calculate your needs, 15W per Pi, and plan accordingly.
- Cat-6 Ethernet cables - For the price, just go with Cat-6. Cat-5 should work fine if you already have it lying around.
- 8 or 9mm standoffs - The POE Hat comes with Female/Female 9mm standoffs but we need Male/Female. I only have 8mm and 10mm so went with 8mm.
My application
As previously stated, I am going to mount this onto a blank section of wall. Originally I was going to place it inside my existing server rack but I do not want to over commit on space. I have my eye on a rather large UPS system that will hopefully support most of my devices. Consequently I need to limit my additions as the UPS will likely take up 8U or more.
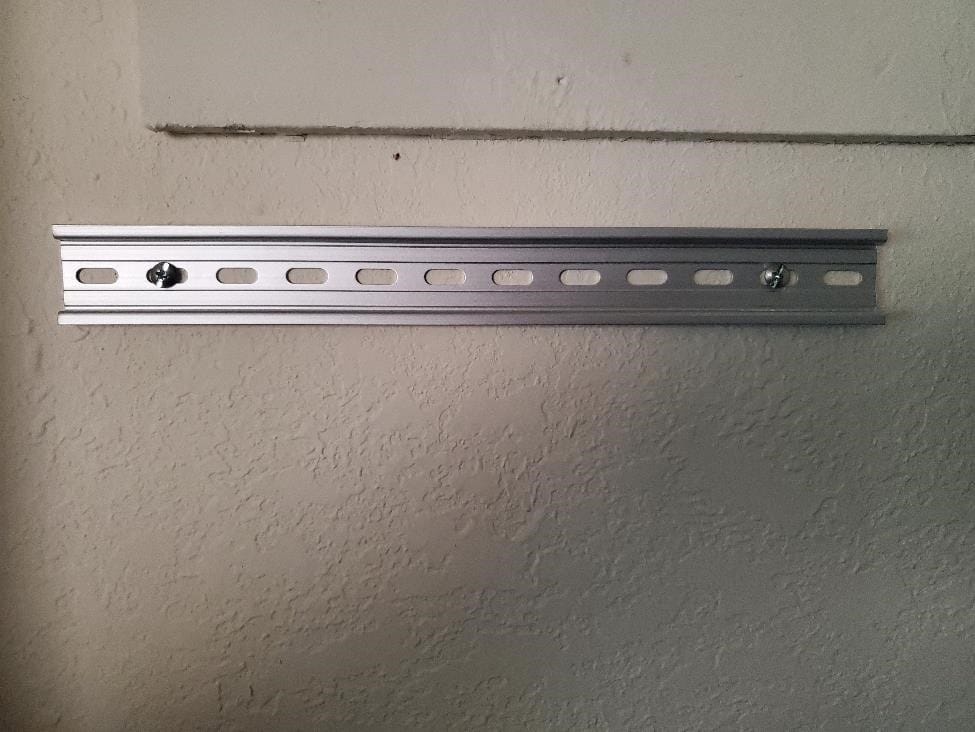
First find an empty section of wall relative close to your POE-capable network switch to reduce the length of cable runs. Next take any special precautions you deem necessary to mount the rail level and securely to the wall.
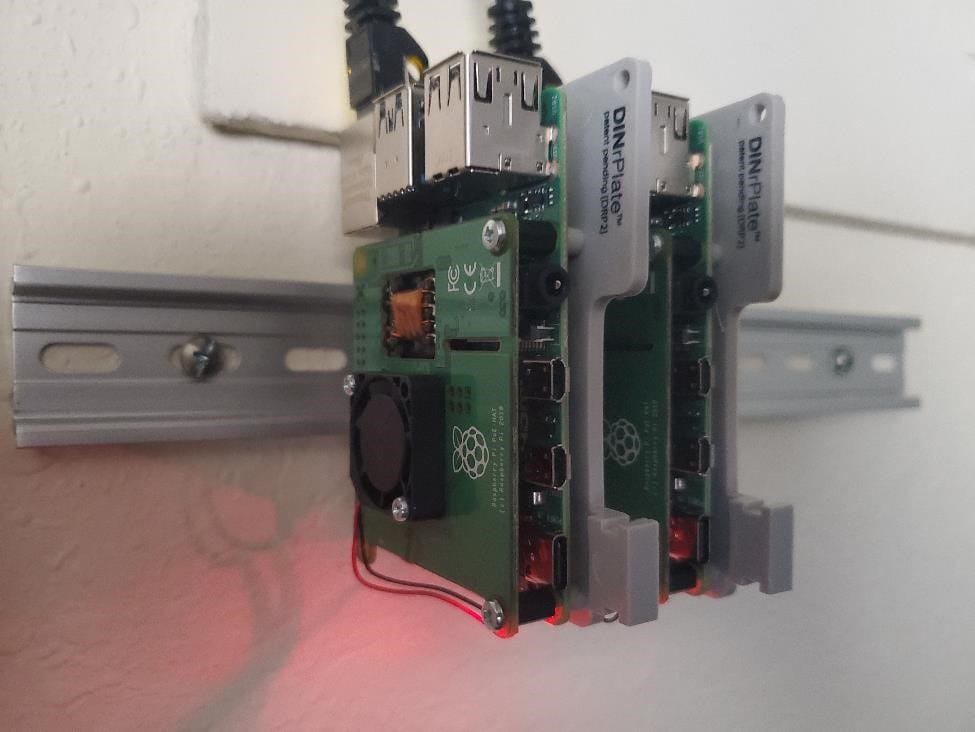
Next assemble the Pi to the rail mount. This part may get tricky as the Pi needs to screw to the mount and the standoff it comes with are 9mm, female to female. I had some 8mm male to female so used these. Once you have the Pi attached to the rail mount, align the POE Hat and gently press into place. Use the supplied screws but do not screw down completely or at least not tightly. We need to preserve the 1mm gap. If you have a small washer/spacer it would be good to utilize it here for safety.
Mount it up
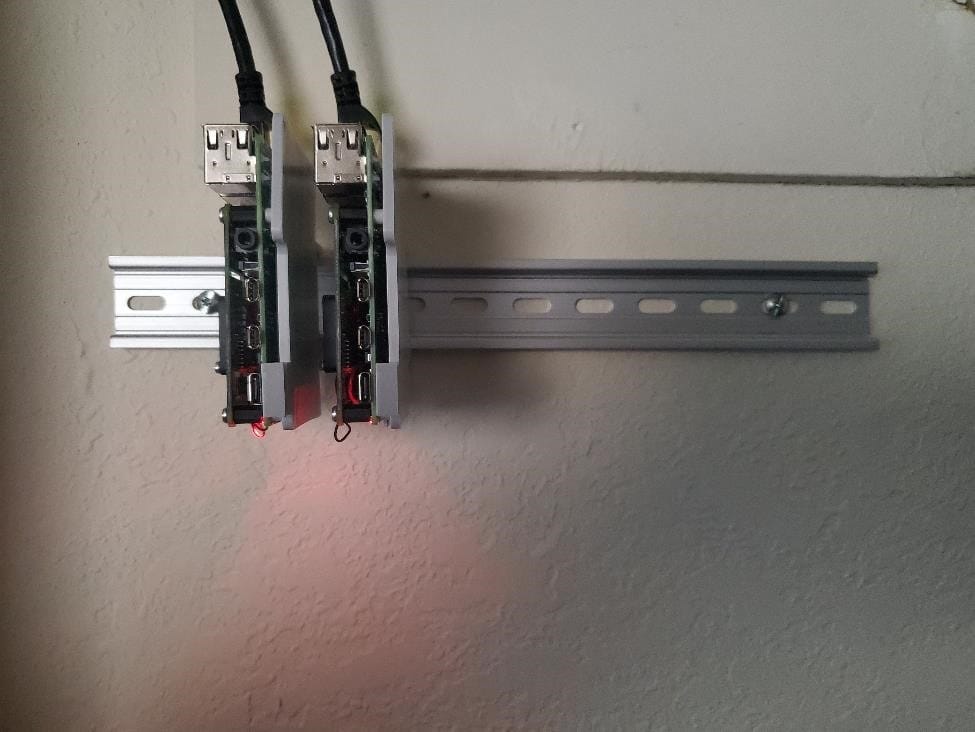
Once you have the POE HAT installed you are pretty much done. Hint - the release on the DIN mount goes down. Take the mounted Pi to your DIN rail and gently slide the top onto the rail. Once you have this lined up, push the mount onto the rail until it clicks. Now run your Ethernet cable from your POE switch to the Pi and give it a few seconds to boot up.
That's it - you are done. Repeat the process for how ever many Pi (or other SBC) and rail mounts you have. The kit I listed above comes with 3 but I only had 2 Pi's handy at the time of writing.

Conclusion
I am very pleased with the aesthetics of this method of mounting and powering. Less wires to manage and no bulky power bricks. From a cost perspective, if you have to purchase a POE capable switch, this may not be a cost-effective alternative for all. You would have to consider the costs of individual cases and power supplies to really get an idea.
Heat dissipation seems to be nominal. The place where I mounted this DIN rail has a slightly higher ambient temperature than where the Pi tower is currently at and these two are reading a couple of degrees higher.